
Google slides two columns text box – Harness the power of Google Slides two-column text boxes to elevate your presentations. This versatile feature empowers you with flexible text layout and design options, enabling you to organize and present information with clarity and impact.
Delve into the intricacies of creating and customizing two-column text boxes, explore best practices for effective design, and uncover advanced techniques to enhance your presentations.
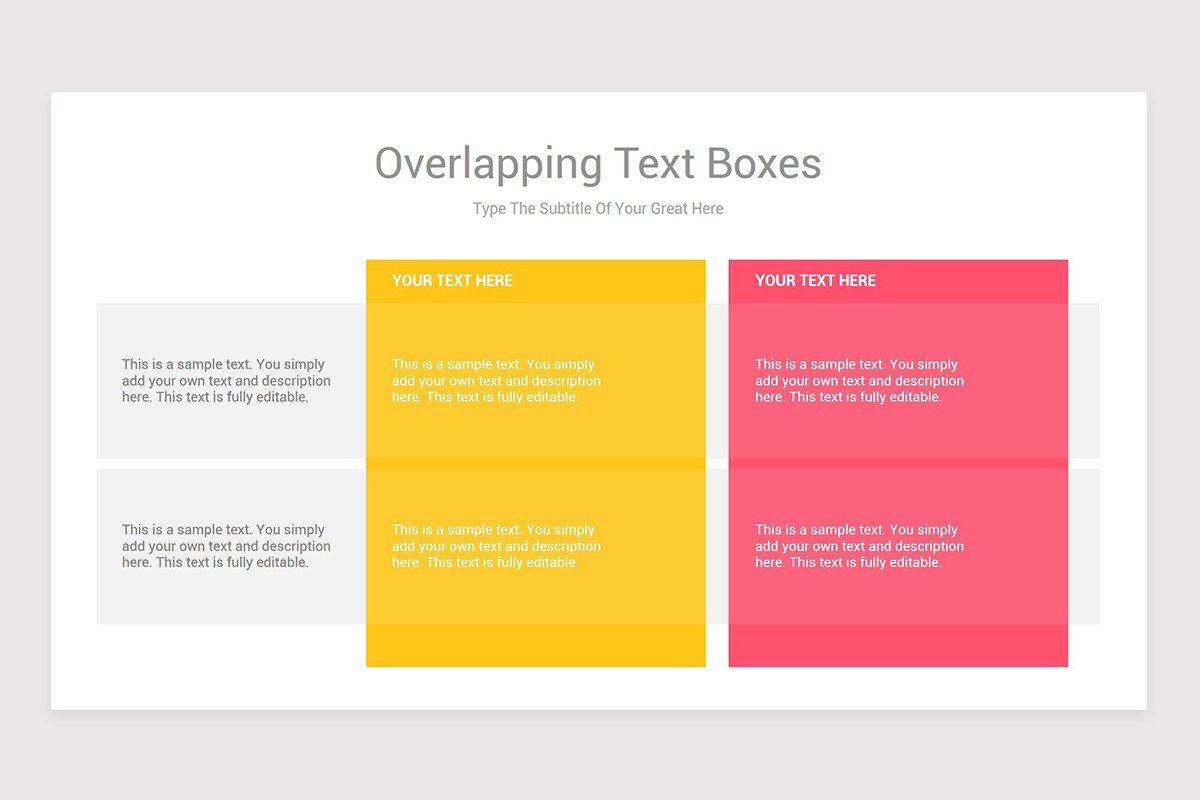
Features of Google Slides Two-Column Text Box: Google Slides Two Columns Text Box
Google Slides’ two-column text box feature enables users to create visually appealing and organized slides by dividing text content into two distinct columns.
This flexible layout allows for creative design possibilities, such as juxtaposing contrasting ideas, presenting parallel narratives, or showcasing comparisons side-by-side.
Benefits of Two-Column Text Box
- Improved readability:Two columns break up large blocks of text, making them easier to read and digest.
- Enhanced organization:Separating text into columns helps structure and categorize information logically.
- Visual appeal:The two-column layout adds visual interest and variety to slides.
Creating and Customizing Two-Column Text Boxes
Creating a two-column text box in Google Slides is a simple process that can enhance the visual appeal and organization of your presentations. Follow these steps to create a two-column text box:
- Select the “Insert” tab from the menu bar.
- Choose “Text Box” from the dropdown menu.
- Click and drag on the slide to create the text box.
- Click the “Format” tab from the menu bar.
- In the “Text Box” section, select “Columns” from the dropdown menu.
- Choose “2” from the number of columns.
Once you have created a two-column text box, you can customize its appearance to match the design of your presentation. Here are some options for customizing the text box:
- Column Width:Adjust the width of each column by dragging the boundary line between the columns.
- Spacing:Increase or decrease the spacing between the columns and the text within the columns using the “Spacing” options.
- Alignment:Align the text within the columns horizontally (left, center, or right) and vertically (top, middle, or bottom).
- Borders:Add a border around the text box or around each individual column to enhance the visual appeal.
- Background:Fill the background of the text box or each individual column with a solid color or gradient to create a visually appealing effect.
By customizing the two-column text box, you can create a visually appealing and organized presentation that effectively conveys your message to the audience.
Design Principles for Two-Column Text Boxes
Crafting effective two-column text boxes requires adherence to design principles that enhance visual appeal and readability. These principles include establishing a clear visual hierarchy, incorporating contrast for emphasis, and prioritizing readability for optimal audience engagement.
Visual Hierarchy
Visual hierarchy organizes elements within the text box to guide the reader’s eye through the content. Employing font size, weight, and color variations helps create a clear distinction between headings, subheadings, and body text. This hierarchy ensures the most important information is easily identifiable.
Contrast
Contrast is crucial for highlighting key elements and directing attention. By using contrasting colors for text and background, or varying the brightness and saturation levels, you can emphasize important points and make them stand out from the surrounding text.
Readability
Readability is paramount for effective communication. Ensure your text is easy to read by using a legible font, appropriate font size, and sufficient line spacing. Avoid using excessive jargon or complex language that may hinder comprehension.
Examples of Effective Use of Two-Column Text Boxes
Two-column text boxes in Google Slides can significantly enhance the presentation’s clarity, organization, and impact. Here are some examples of effective use cases:
Case Study 1: Product Comparison
- Create two columns, one for each product being compared.
- Use concise bullet points to highlight key features, specifications, and benefits.
- Emphasize the differences between the products using contrasting colors or bolding.
Case Study 2: Pros and Cons Analysis
- Create two columns, one for pros and one for cons.
- Use clear and concise language to describe each point.
- Consider using icons or symbols to visually represent the pros and cons.
Case Study 3: Step-by-Step Instructions
- Create two columns, one for the step number and one for the instructions.
- Use a consistent font and formatting throughout the text.
- Consider using bullet points or numbered lists to make the instructions easy to follow.
These examples demonstrate how two-column text boxes can effectively convey information, improve organization, and enhance the visual appeal of Google Slides presentations.
Troubleshooting Common Issues with Two-Column Text Boxes
Using two-column text boxes in Google Slides can be seamless, but occasional issues may arise. This section will delve into common problems and provide practical solutions to resolve them efficiently.
Text Overflow
When text exceeds the designated column width, it may overflow into the adjacent column or beyond the text box boundaries. To address this, adjust the column widths or font size to accommodate the text. Alternatively, consider splitting the text into multiple text boxes or using a different layout.
Uneven Column Widths
Uneven column widths can disrupt the visual balance of the slide. To rectify this, select the text box, click on the “Format” tab, and adjust the “Column width” settings. Ensure that the values are identical for both columns.
Formatting Errors
Formatting errors, such as misaligned text or incorrect fonts, can detract from the slide’s professionalism. To troubleshoot, select the text box and review the formatting options in the “Format” tab. Adjust settings like alignment, font, and font size to match the desired appearance.
Advanced Techniques for Using Two-Column Text Boxes
Unlock the full potential of two-column text boxes in Google Slides by exploring advanced techniques. Master custom layouts, seamlessly integrate visuals, and harness the power of tables and charts within the text box. Elevate your presentations with innovative designs and discover creative ways to captivate your audience.
Custom Layouts
Break free from the standard two-column layout. Experiment with asymmetrical designs, add headers and footers, or incorporate additional columns to create visually engaging slides. Customize the spacing, margins, and alignment to achieve a unique and cohesive look.
Incorporating Images and Graphics
Enhance your text boxes with eye-catching visuals. Insert images, charts, or graphs to illustrate key points, break up text, and make your slides more dynamic. Position and resize graphics strategically to create a balanced and visually appealing presentation.
Tables and Charts, Google slides two columns text box
Present complex data in a clear and concise manner using tables and charts. Create tables to organize information, compare data, or display statistics. Utilize charts to visualize trends, illustrate relationships, and make your data more impactful.
Creative and Innovative Uses
Go beyond the ordinary and leverage two-column text boxes for creative storytelling. Use them as side-by-side comparisons, create interactive timelines, or showcase before-and-after images. Explore unique ways to engage your audience and leave a lasting impression.
General Inquiries
How do I create a two-column text box in Google Slides?
Navigate to the ‘Insert’ menu, select ‘Text Box,’ and choose ‘Two-Column Text Box’ from the options.
Can I adjust the column widths of a two-column text box?
Yes, hover over the vertical line separating the columns and drag it to resize the widths.
How do I add images or graphics to a two-column text box?
Click inside the text box, navigate to the ‘Insert’ menu, and select ‘Image’ or ‘Drawing’ to add visual elements.
